How to make a Cottage Trellis Made from Branches
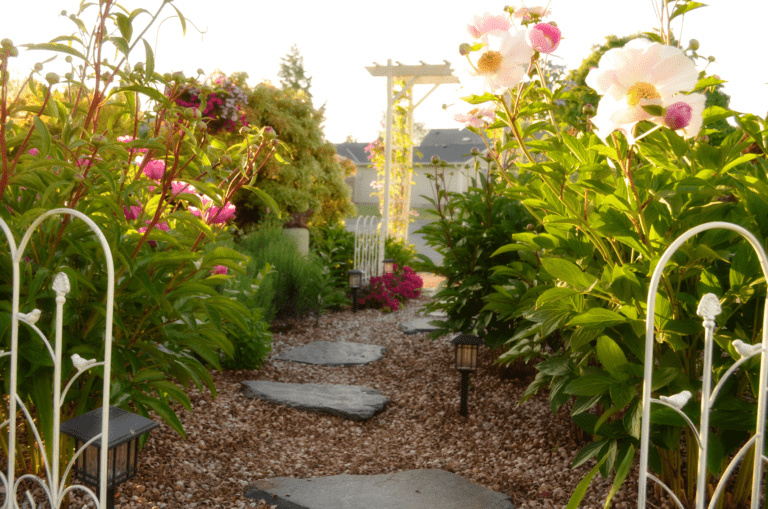
When first planning out our new garden area I pictured two paths. One going vertical and one diagonal that met in the middle. I also thought how pretty it’d be to have a vine growing up some kind of trellis in that spot where the two paths meet. One day, I was searching garden ideas with my friend and she showed me all the willow branch trellis ideas she’d found. I was in love! We had a willow tree and storms had blown branches off in late winter. I quickly added a cottage style trellis made from branches to my list for the new garden. I thought how pretty it’d be to have a vine growing up the country trellis in that spot where the two paths met. This would be the focal point I decided. It would bring it all together!
Funny, after being so enamored with the trellis made from willow branches idea, my husband convinced me to not use willow branches. Because so many of our field trees had blown over or broken limbs from a winter storm they were perfect. These provide the standing structure for the trellis.
I love that this cottage style branch trellis is so similar to what people would have made hundreds of years ago. It’s functional and adds a fairytale charm.
Our DIY Trellis From Branches
You can see in these pictures how the zip ties stand out because THYE ARE WHITE! I actually purchased small black zip ties before realizing they were too small. So then I went with the larger white ones I had. I’ll be switching them out to black as soon as I can get to the store but I wanted to get this post up so yes, it’s imperfect. Even so, covered in climbing vines or twinkling lights, the white zip ties do not stand out.
I also tried using twine to tie the branches together. While this went with the cottage charm, they break down much too easily. Mine did not last: hence the switch to zip ties.
Tips To Help Make Your Cottage Style Trellis From Branches
While this project depends much on your own design I can give you a few tips.
Use Sturdy Branches for the Trellis
While the idea of a willow branch trellis may sound romantic, my husband warned against the endeavor. We do have a willow tree but finding branches that are sturdy enough is difficult. He convinced me to find the sturdiest branches of other trees as the supports. This job brought us into the field mid June to the sight of several downed trees from winter storms. I can always add willow branches in the end if I want.
Cut a Few Extra Branches
Expect that a branch will snap or won’t be shaped quite right and cut a few extra. It will save you the headache of having to get more when all you want to do is set up the trellis.
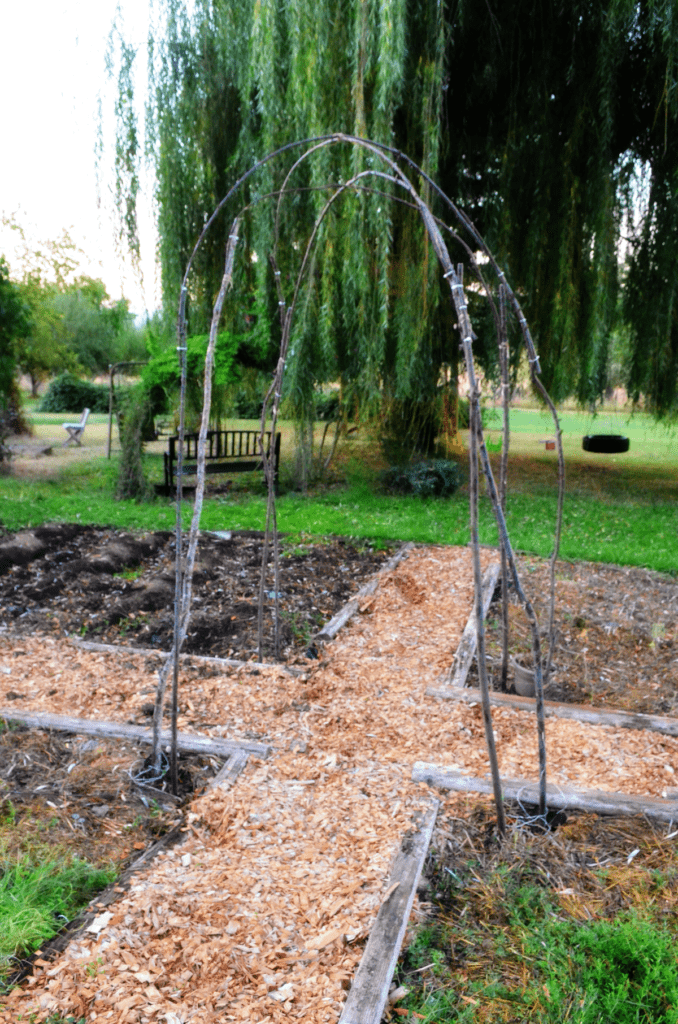
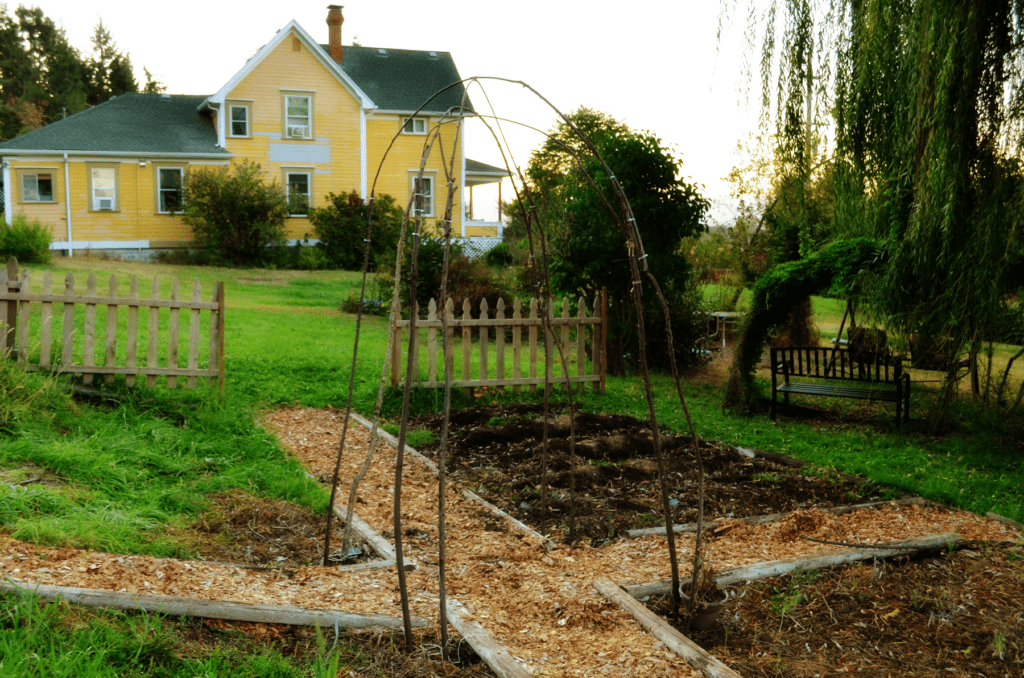
Cottage Style Branch Trellis

This eight foot trellis has four corners in which it comes up from the ground. All eight branches cross at the top .
Materials
- Eight sturdy branches, 1.5 -2 inches thick and 7-8 feet long.
- Eight flexible thin branches 1/2 inch thick and 6-7 feet long.
- Approximately 25 8 inch long zip ties (black is best)
Tools
- Saw to cut branches
- Shovel or hole digger
- Ladder
- clippers or scissors to trim the zip ties
- Gloves (optional)
Instructions
- Cut your branches to correct length and run water over soil to dampen area you'll dig holes.
- Measure a five foot square with the corners being the spots you'll dig holes for the trellis. Mark each corner.
- On either side of each corner dig a hole approximately 8 inches deep or deep enough to keep your branch sturdy (this may need to be deeper than 8 inches depending on the branch)
- Insert your thick branches into holes and press soil firmly around hole to hold branch in place. You should end with eight branches sticking out of the ground with two in each corner of a square.
- Take thin branches and, with a ladder and zip ties, attach a small branch end to a larger branch overlapping ends by 12-18 inches. This may take 2-3 zip ties. Move ladder to opposite corner of square and pull the thin branch over to attach the other end to a large branch in the opposite square corner. Continue with each corner, loosening or tightening branches if needed to make room for them to cross each other.
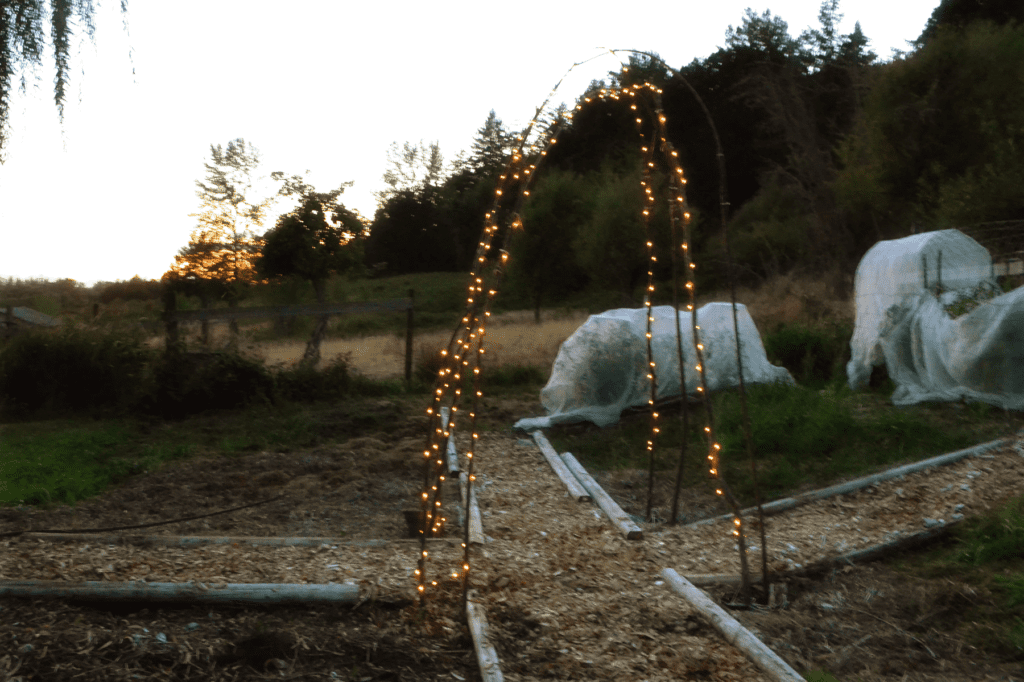
- Congrats! You have completed your trellis! Feel free to wrap it with solar lights or plant a climbing vine around it.
Dig Holes in Wet Dirt
This might be obvious, but if not, make sure your soil is wet before digging your holes. It will be so much easier to dig and help the soil fill in around the poles.

Other Posts You May Like
How to Make a Crate Inspired Planter Box
Add Elements of the English Garden to Any Garden
Simple Einkorn Lemon Blueberry Sourdough Scones
Thanks for Stopping by!
From the Hilltop,
Krista