How to Make a Crate Inspired Planter Box
After nearly a year of no use, I’m going to give these rustic crates some new life. Here’s how these crates, which were originally purchased as nesting boxes, will begin their next best life: as a crate inspired planter box!

It’s been nearly a year since our chickens joined this newbie on the farm. I remember that day like it was yesterday. I remember the stress! We were days away from traveling across the world for an adoption and had nearly forgotten to note the day scheduled for picking up chickens. Were we ready? No way. Last minute we decided to transform our old structure we call the garden shed, into a chicken coop. Bodie began to cut wood and drill pieces together for a roosting area. I went out to find the cheapest possible crates for a nesting box. Three were found and I returned to a very discouraged husband. We talked discussed our options and decided to just purchase a chicken coop and build fencing around it. We were both happy with the decision but a bit unhappy about the work we’d just finished.
Fast forward to now. We have chickens. There is a safe place for them to live on our property. The crates, though, are still laying around waiting for some love.
I have wooden crates.
This is just the project for me.
What You’ll Need
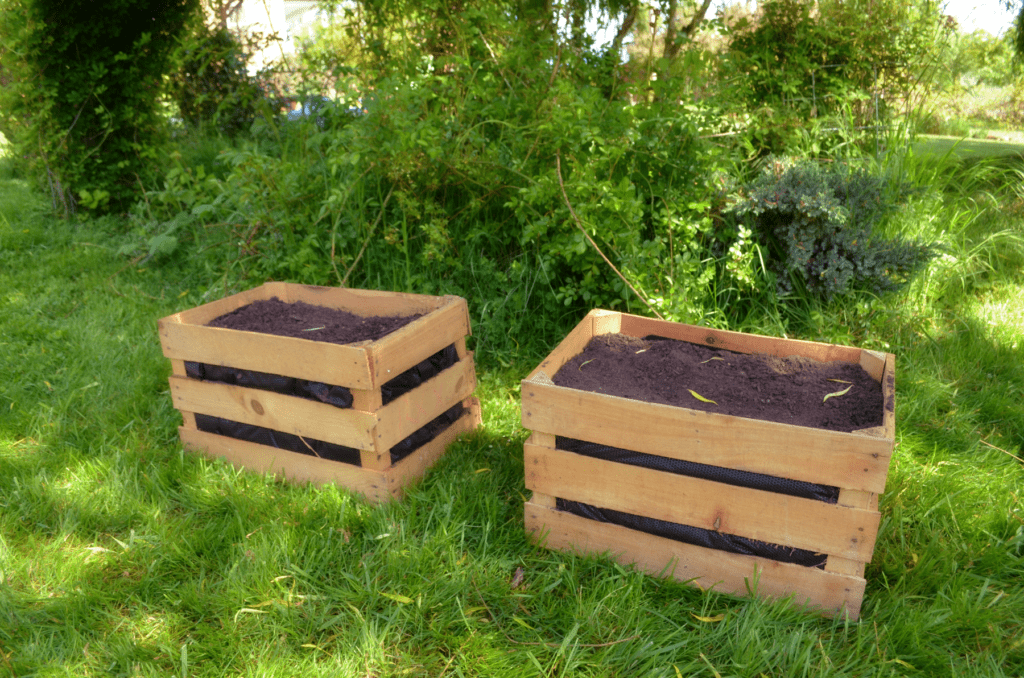
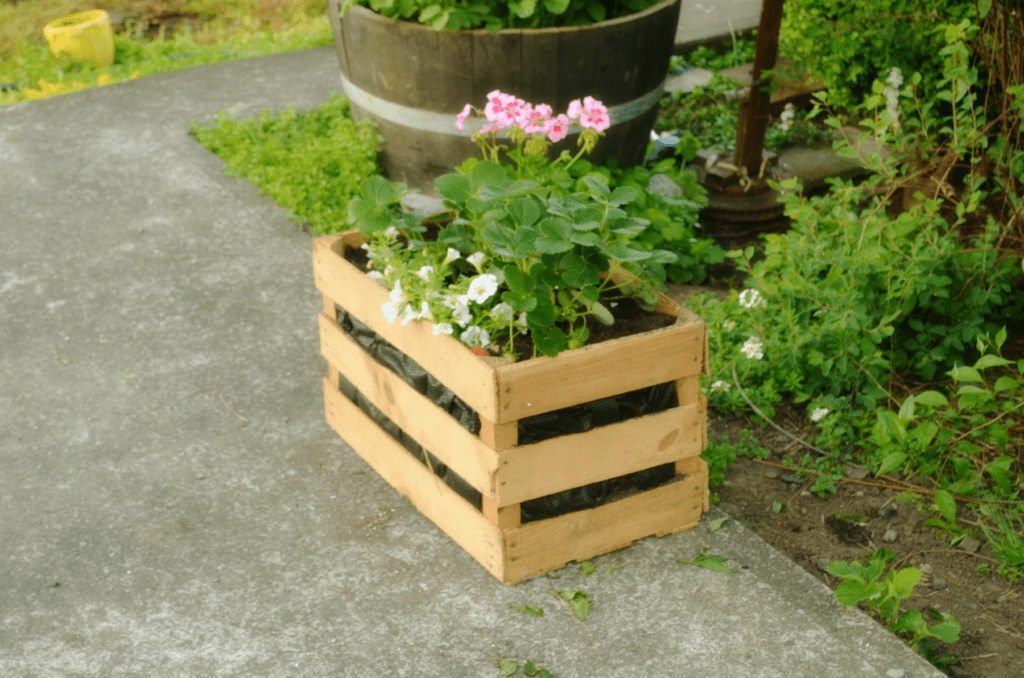
- A wooden crate
- A roll of weed barrier
- Scissors
- Clips such as clothespins
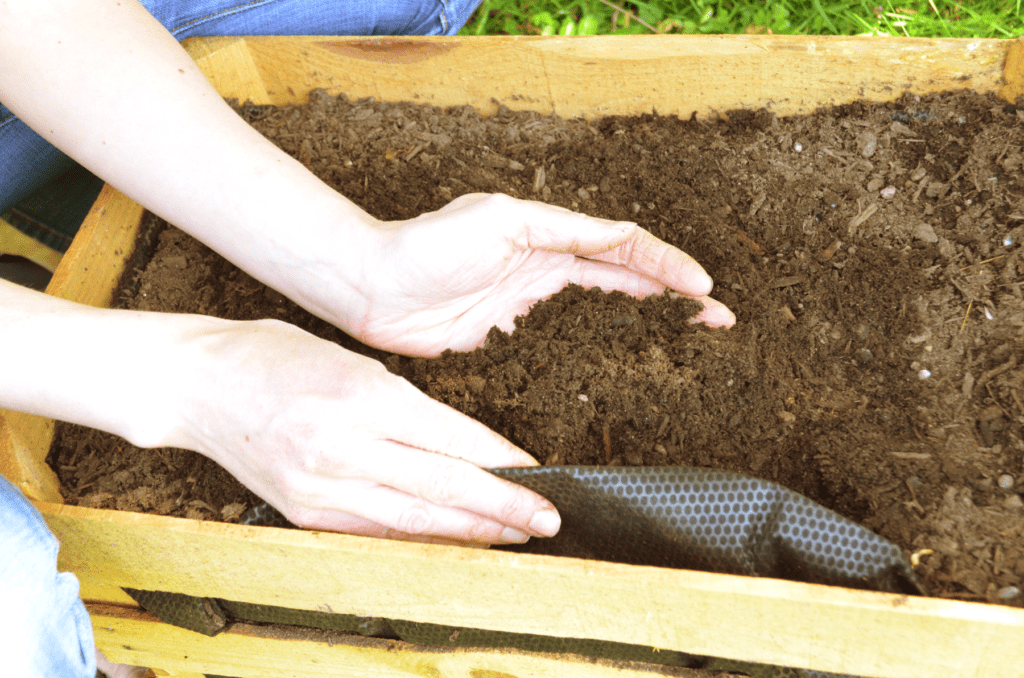
- Soil
- Plants for filling your planter!
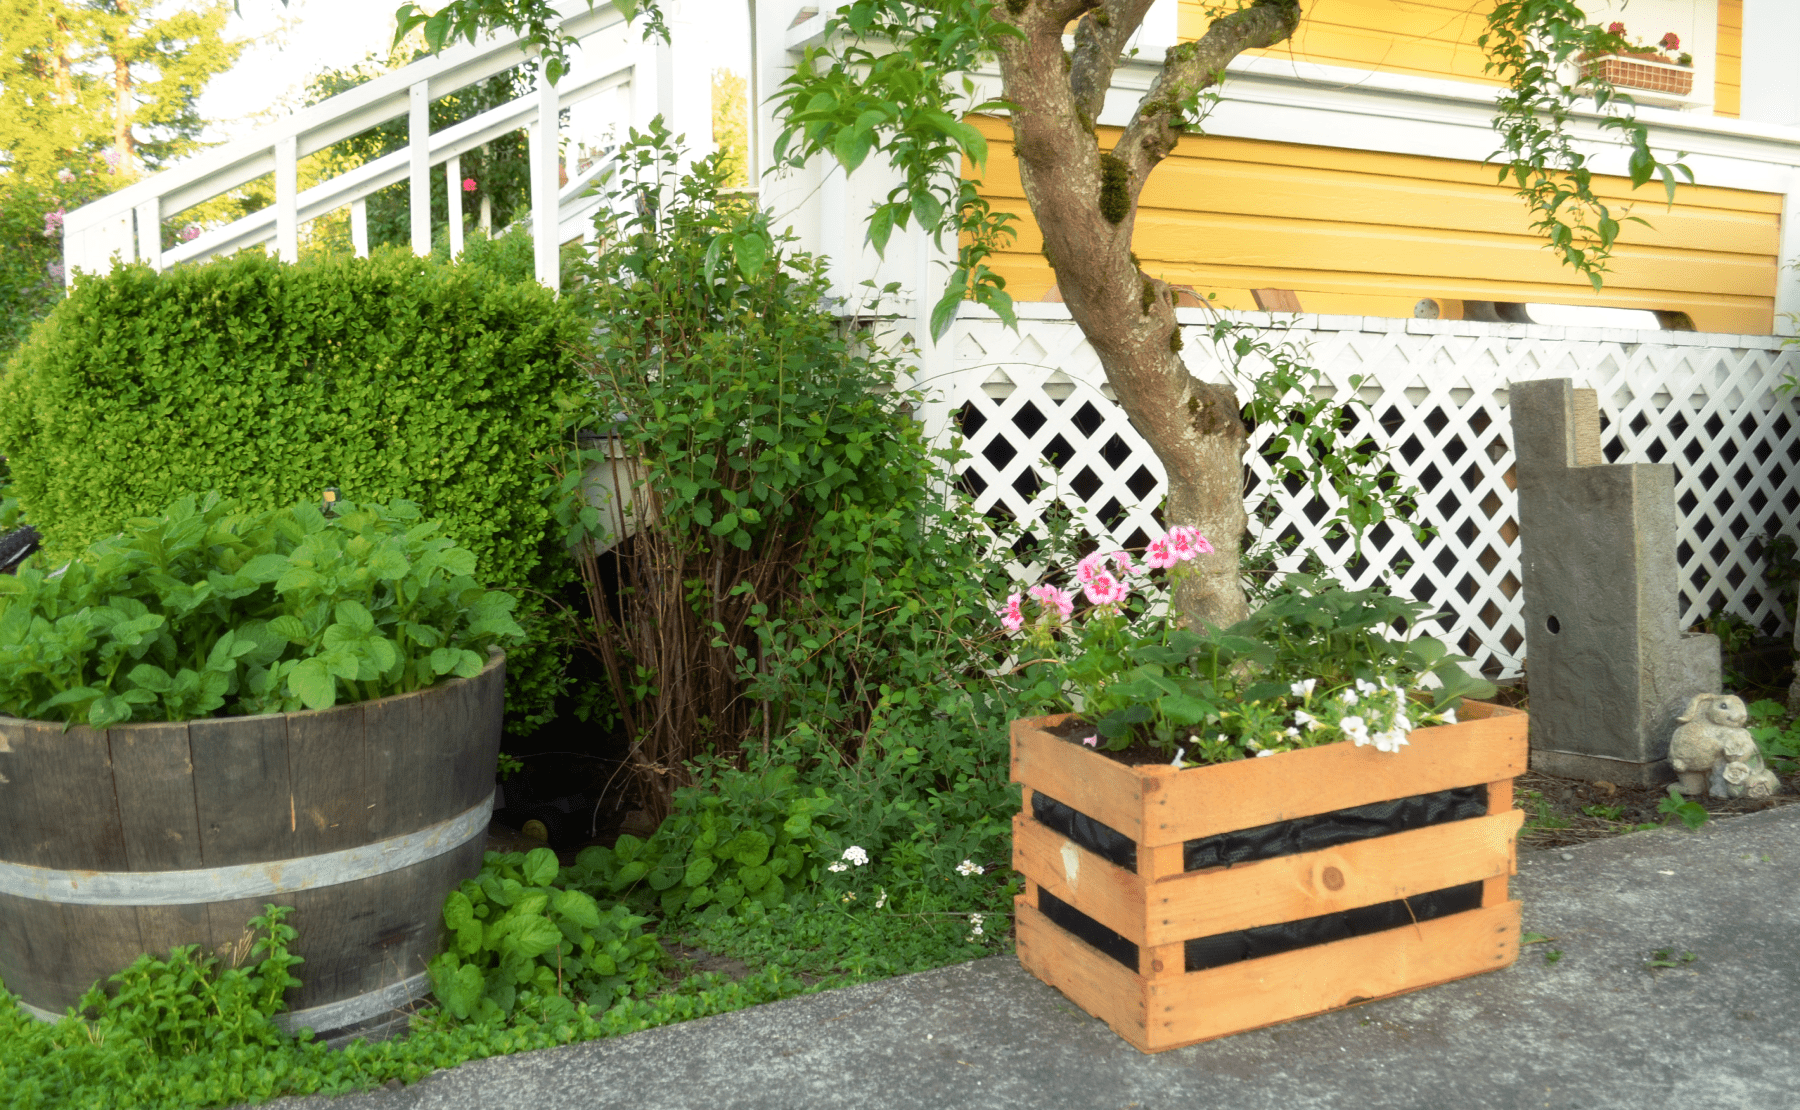
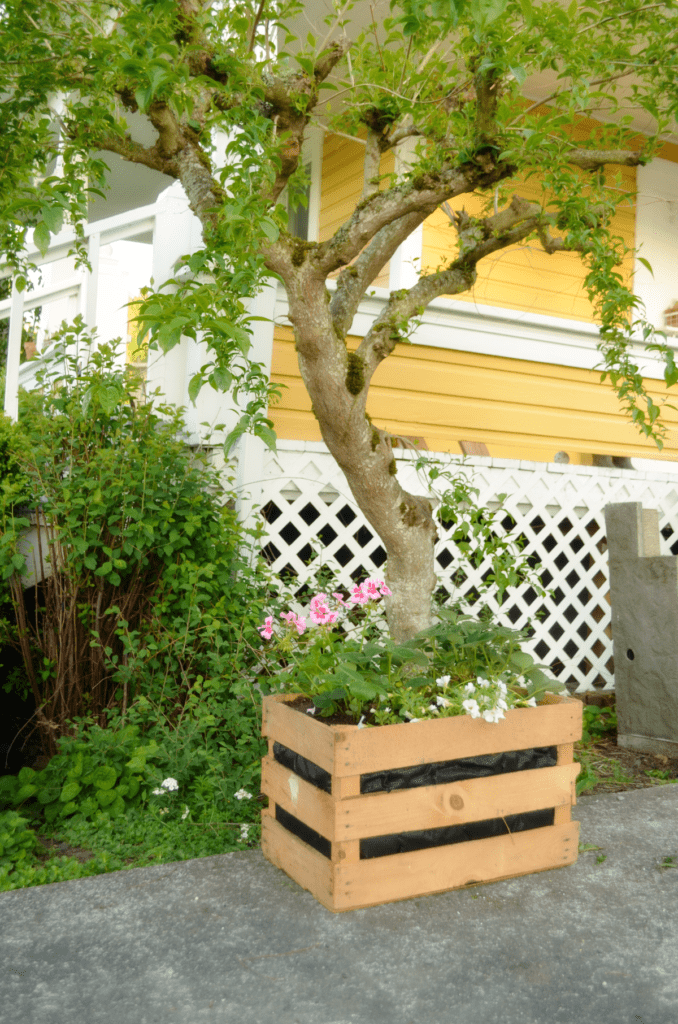
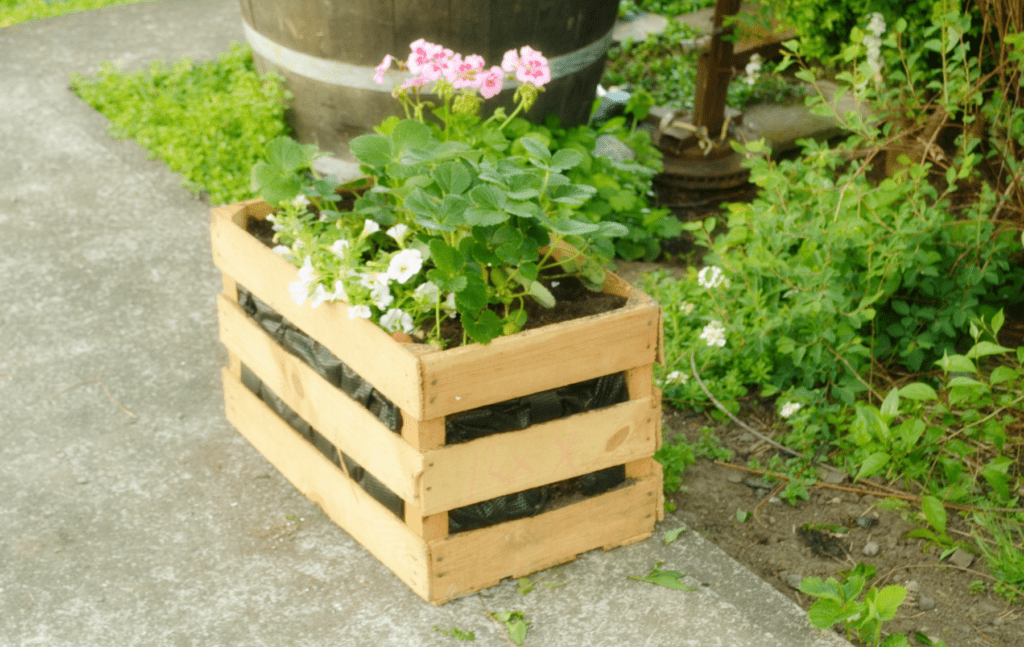
How to Make your Crate Inspired Planter box
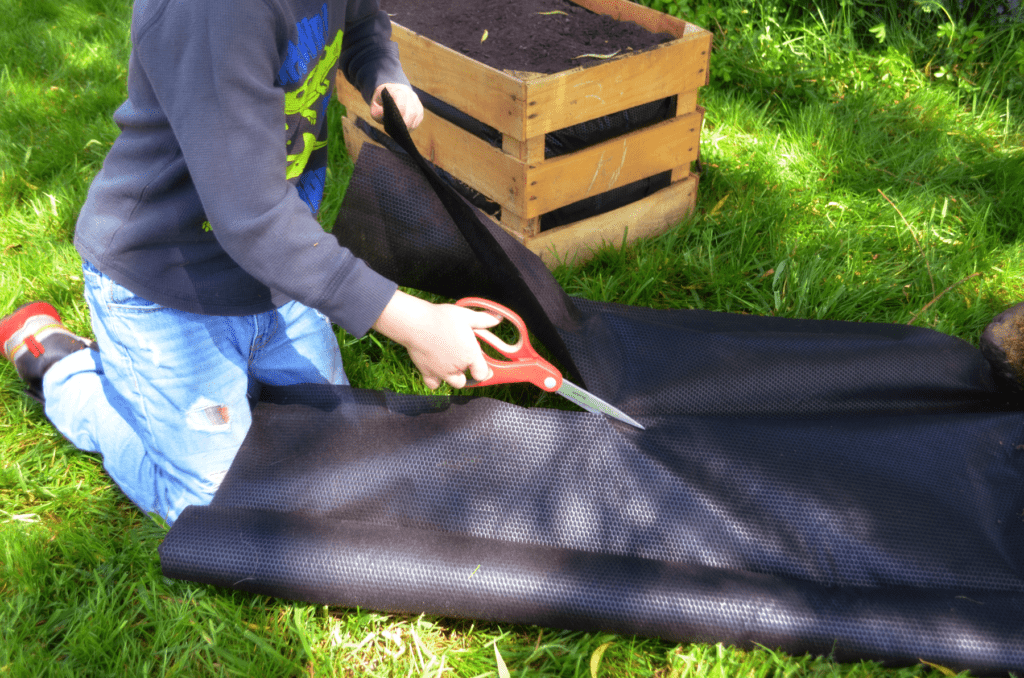
- Cut a long rectangle strip to cover the crate length wise so that the barrier covers the bottom, the two narrow ends and falls over both top edges. Feel free to use two strips if more is needed.
- Cut a few small holes in the bottom barrier cover to let water out.
- Cut another strip of barrier to cover the wide side of your crate. Once again cut holes in the bottom and feel free to cut two strips if more is needed to cover the entire crate. You don’t want any holes where soil can fall out.
- Fill the barrier covered crate with dirt about 2/3 full. Fold over barrier cover towards the soil and tuck in so that it covers inside crate but doesn’t rise above crates height.
- Continue to pour soil into crate, tucking in the barrier when needed.
- Dig your holes and plant whatever plants you’ve chosen. Add more soil as needed and firmly press soil down around plants.
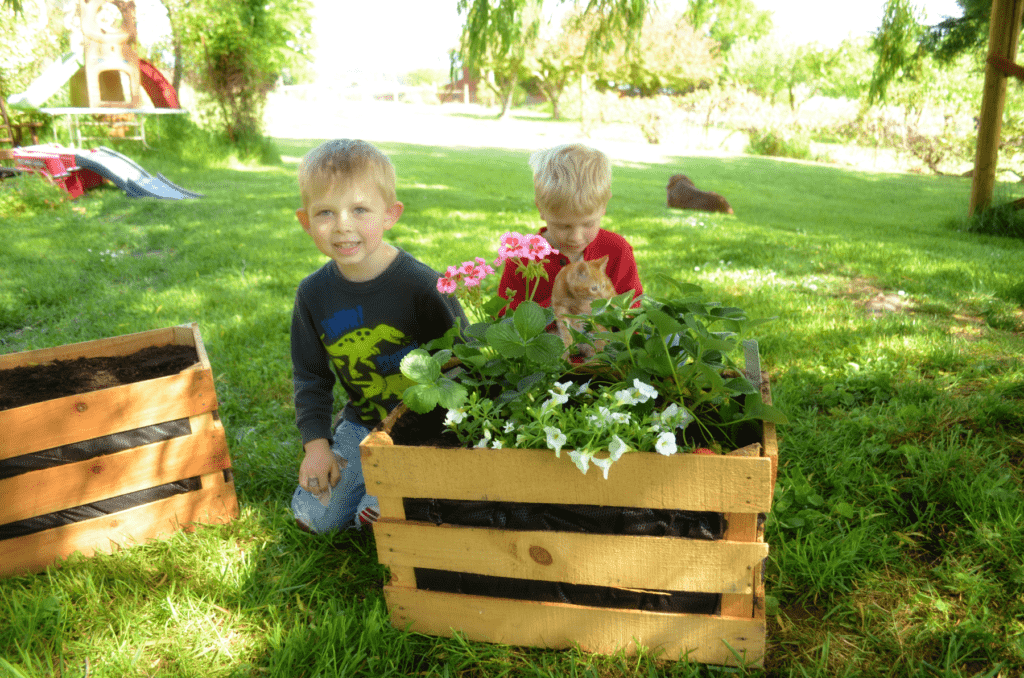
Choosing Plants for Your Planter Box
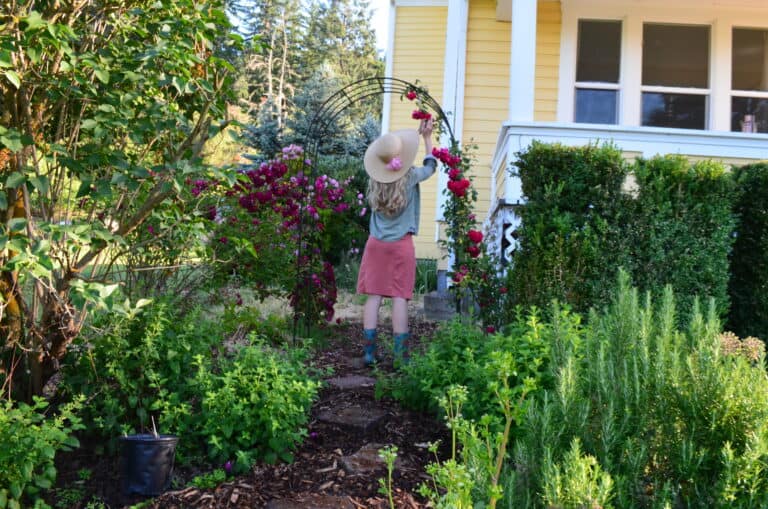
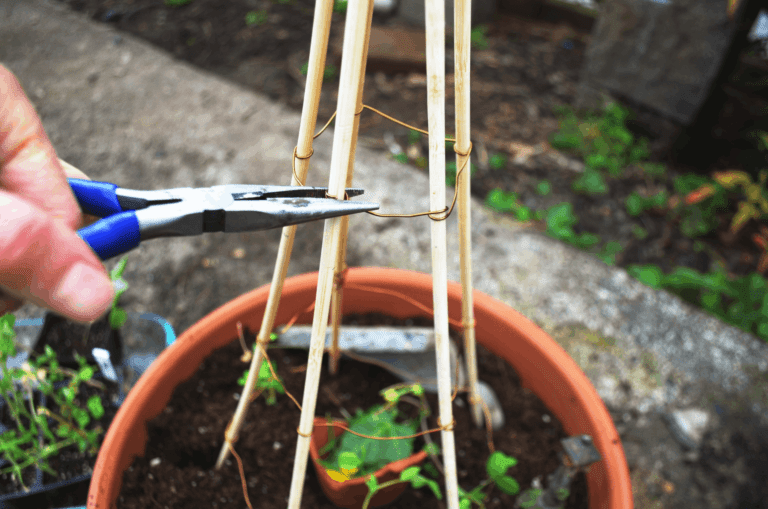
This makes a charming farmhouse flower box but can just as easily act as a raised bed for vegetables. Add a trellis and watch your peas or cucumber grow. It can also be the perfect size for tomatoes which like to grow deep roots. There are so many possibilities!
Other Gardening Inspiration
How to make a Simple Plantar Box
How this Beginner is Preserving Foods
Other Posts You Might Like
Welcome Home Anastasiia, An adoption Complete
How to Spring Clean when You have Young Kids
Thanks for stopping by! Don’t forget to sign up for our clubhouse emails for more inspiration, Pinterest ideas, freebies and more!
From the Hilltop,