How to Build a Simple Wooden Post Raspberry Trellis
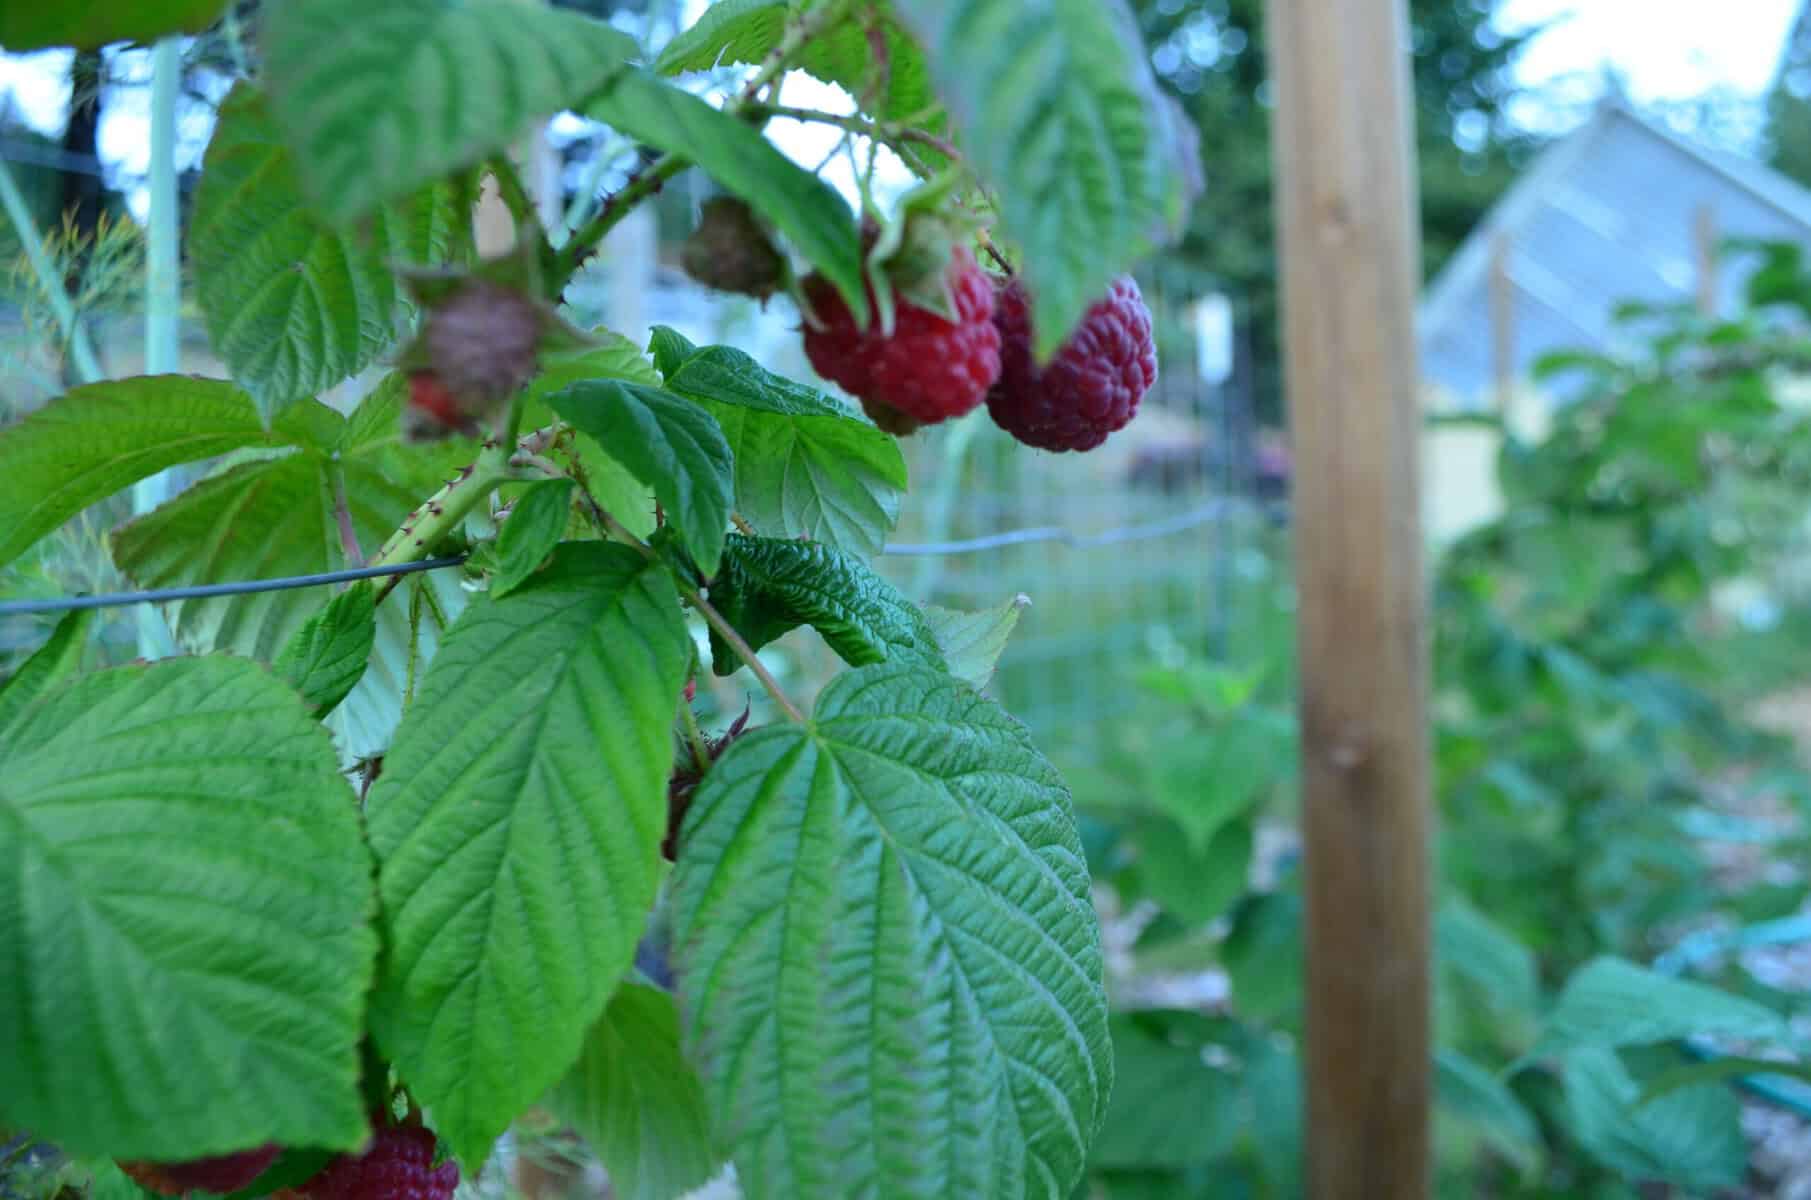
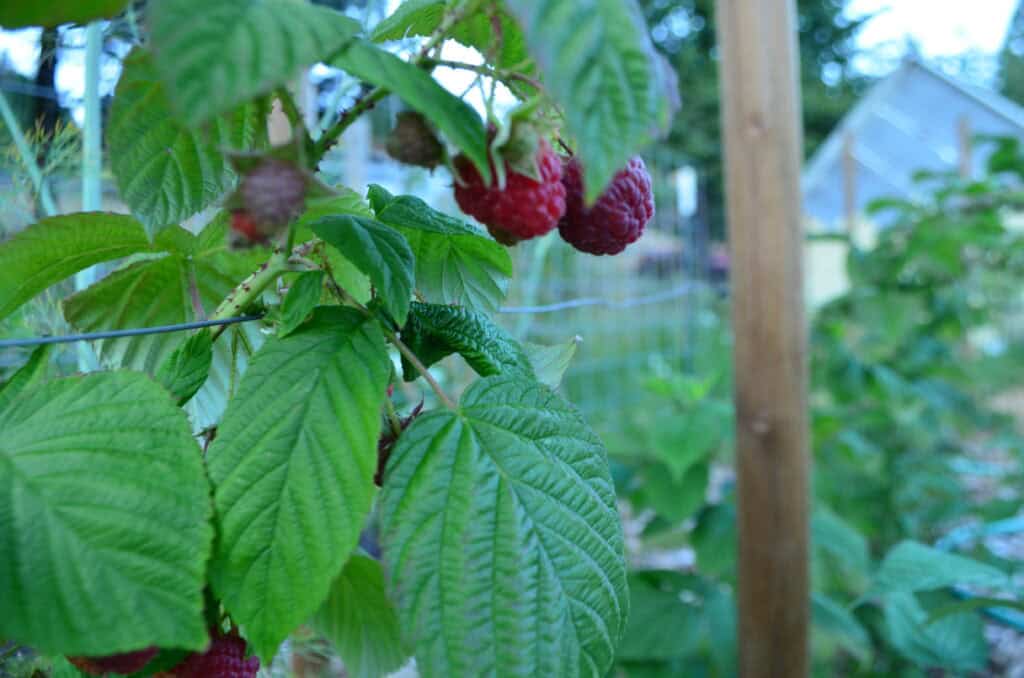
Here in the Pacific Northwest, the environment is perfect for growing raspberries. A few years back we added new canes of everbearing raspberries and enjoyed fruit from spring to fall. Unfortunately, planting them in one big clump resulted in hard to pick berries and choked the canes from growing to their potential.
Many home gardeners and homesteaders have added a raspberry patch to their property and get to enjoy the harvest berries that are produced. HAving your own fruit patch has many benefits and with a little simple maintance, you can have a patch with a bountiful harvest.
Raspberries are a delicious fruit people have been enjoying for hundreds of years! There are many yummy things that can be done with the berries like freezing, canning jams and jellies, baking pies and cakes and even making your own red raspberry leaf tea!
How a row of raspberries can help raspberry health and growth
Even if you have a small garden, you can still grow raspberries because they don’t have to be planted in a designated garden location. You can start a small raspberry patch in a separate section of your yard by turning over the soil, adding some fertilizer or mulch, and planting some bare-root plants!
By following the trellis system and instructions in this post, you can have a flourishing patch. O.k. Let’s learn how to build a simple DIY trellis design for your raspberry plants! Here’s some benefits to using a trellis system for raspberries:
Easier to reach weeds and see the weeds.
Ability to give shoots room to grow and thrive instead of becoming engulfed by other raspberry canes.
Easier to see fruit and reach fruit.
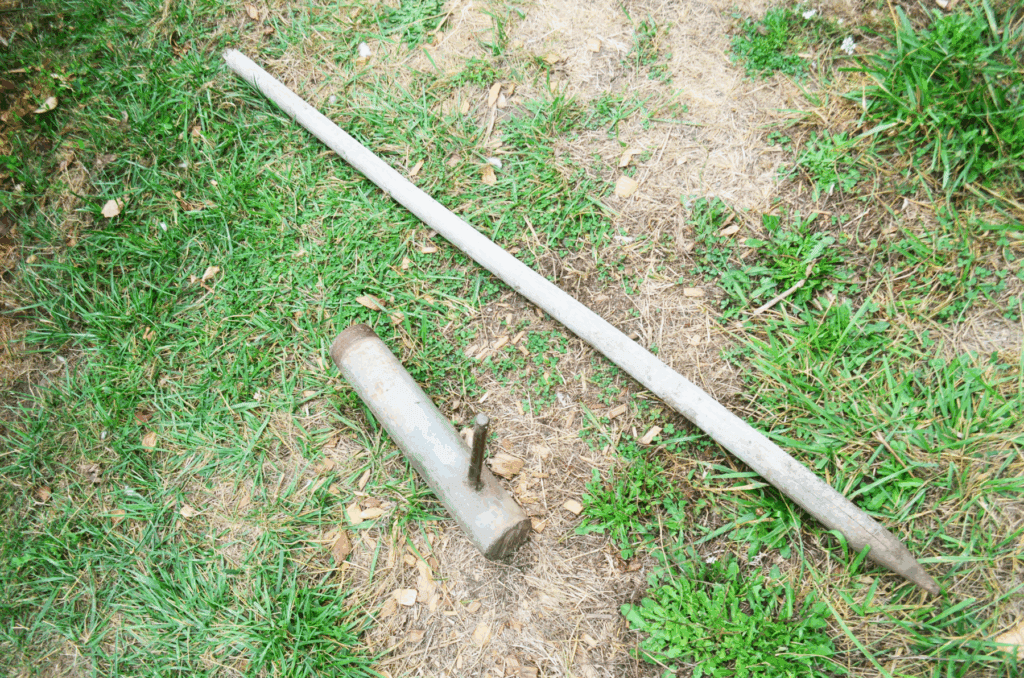
What You’ll need to make a Wood Post and wire trellis
wooden postsWood posts /metal stakes such as fencing posts
You can also use metal stakes or fencing posts.
A heavy mallet or Post Hammer
This will be used for driving the posts firmly into the ground.
Fencing Wire
Wire or string. If you use wire you will need also need a couple of other supplies: earth anchors behind the end posts, and gripples or strainers. These are to secure the wire and keep it tight.
The advantage of using wire is that it will not loosen or wear out over time the way that twine does. Twine takes less time and supplies to install, but it does not work as well as wire.
10-18 gauge works well for this purpose.
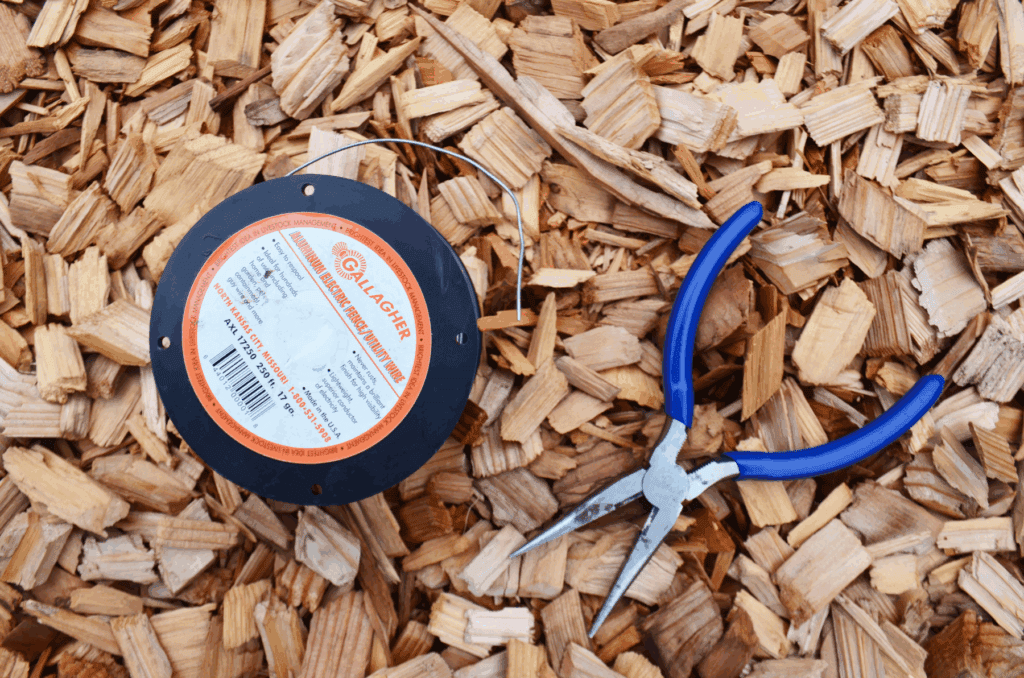
Wire Cutters
These will be used to
Screws and Screwdriver
These will provide a support for the wire to wrap around the posts.
How to build your simple trellis design
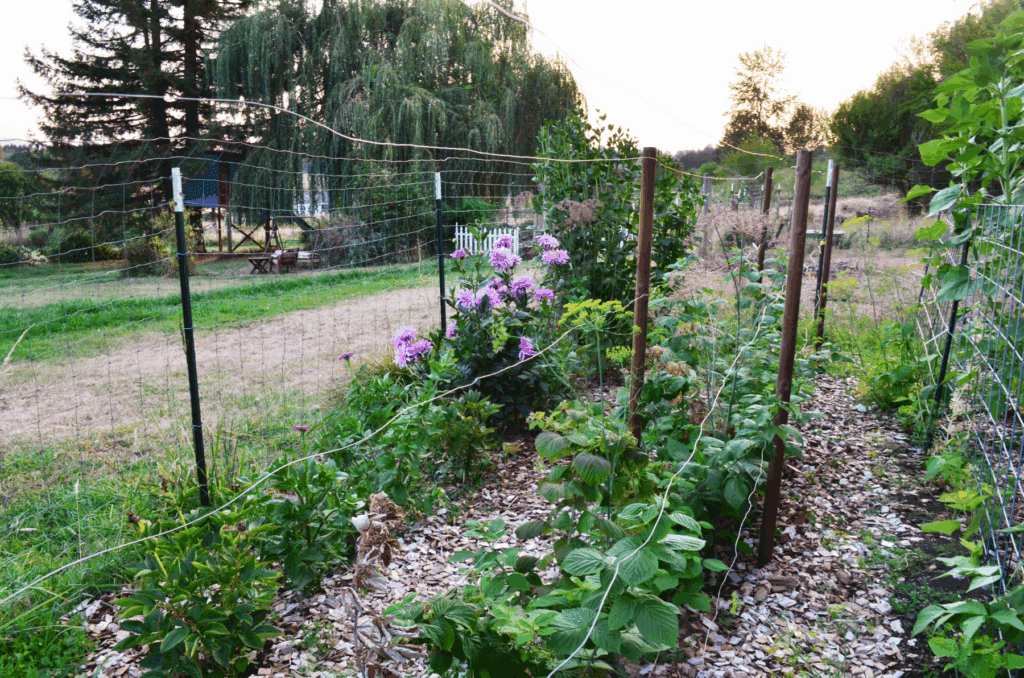
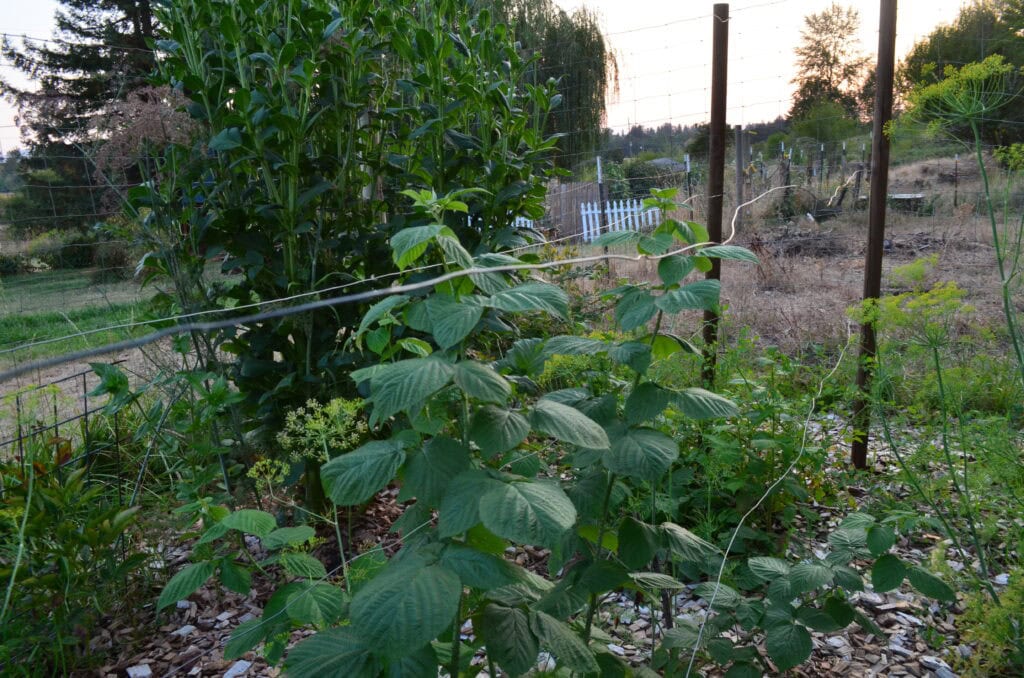
The traditional method of supporting raspberry plants is with a post and wire system. This method involves several levels of wire strung vertically between the posts on either side of the plants. The lower wires should be positioned 3 ft from the ground and the top wire 5 ft from the ground. The raspberry canes can then be tied to the wires or can just be positioned there without being attached to offer support to the plants.
The number of rows of wire you use can depend on the health and growth of your plants. If you have a patch that is thick with plants that are very droopy you might want to consider having 3-4 rows of wire.
Make sure that the bottom wire catches and loose plants so that you can encourage upward growth and support to keep the plants from drooping on the ground.
Some gardeners have even used cloth strips tied together. This is a budget friendly method and does offer the needed support and strength to hold up the plants, but the downside is that the cloth will deteriorate within one growing season.
Plant your Raspberries
While it is an option to plant your raspberries after making the trellis, I do think there are benefits to having them already in the ground. 1. You have easier access to the soil before securing a wire around the trellis area. 2. You better understand how the raspberry plants will grow.
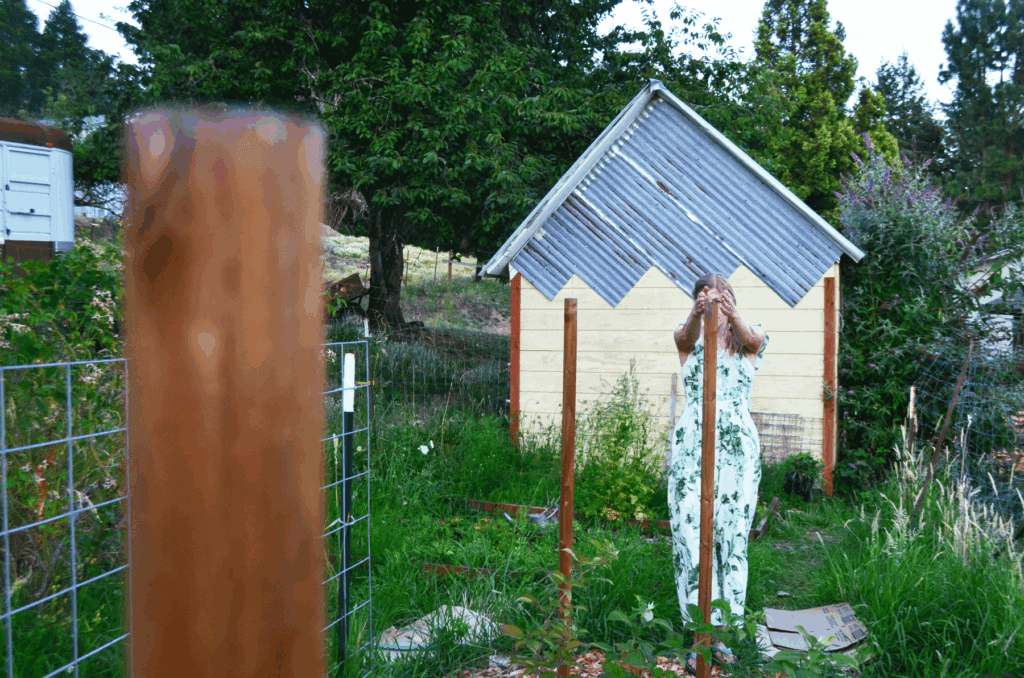
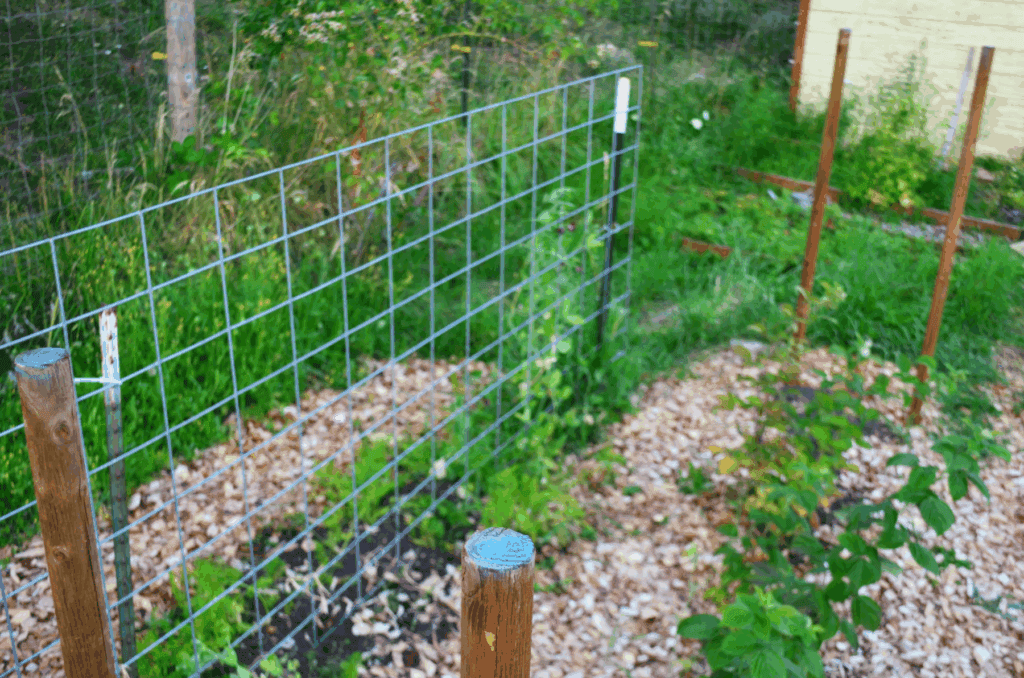
Set in Your Posts
At either end of your planned trellis, mark two spots for posts. You can be very exact and measure or estimate the distances as we did here. You will want the post ends about 2ft apart in order to make room for both vertical growth and outward growth.
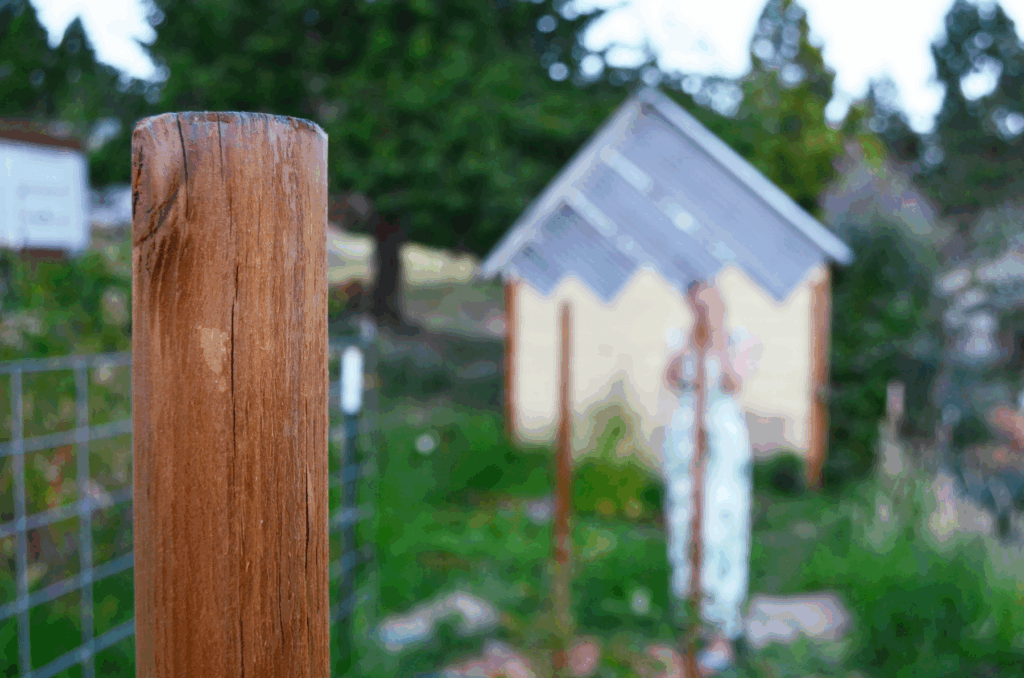
I recommend putting a post in at least every 10 feet to provide enough support. Our row of raspberries contains three posts on either side of it.
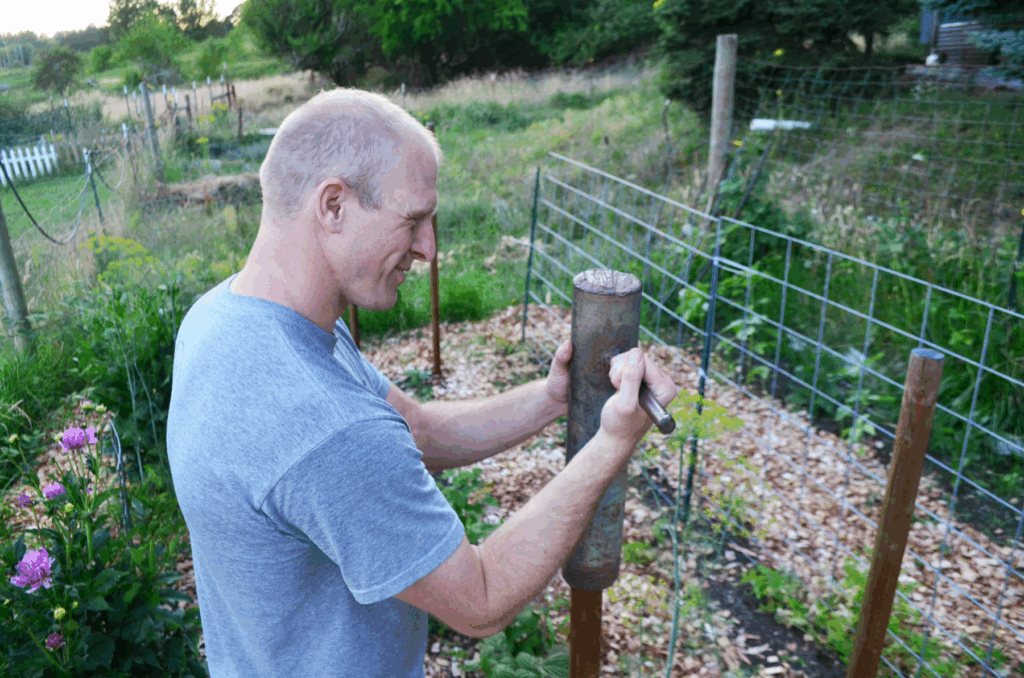
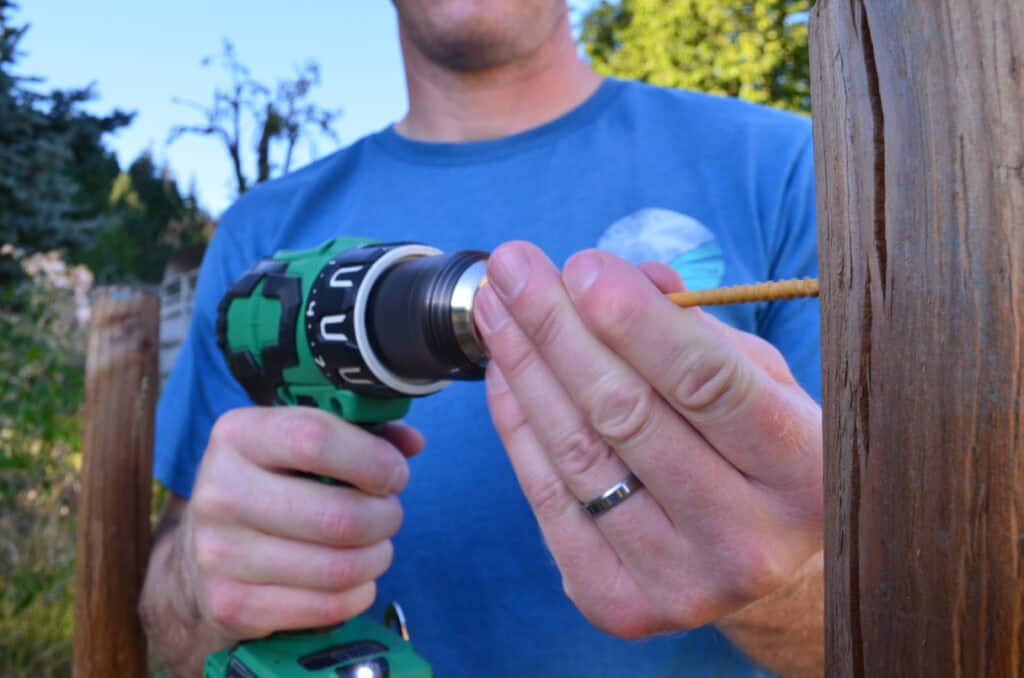
Screw in Anchor screws
Screw a 3 inch screw into the post starting about 18 inches high from the ground. Leave about 1-1.5 inches of screw sticking out. You’ll want the screw to be set inside the post trellis so it doesn’t stick out where someone can get caught on it.
This will be done at the 18 inch high level and again at 3-4 ft high. You may chose to do a third height screw at the very top of your posts, though we opted for just two levels. We may add a third level as the raspberry vines grow taller.
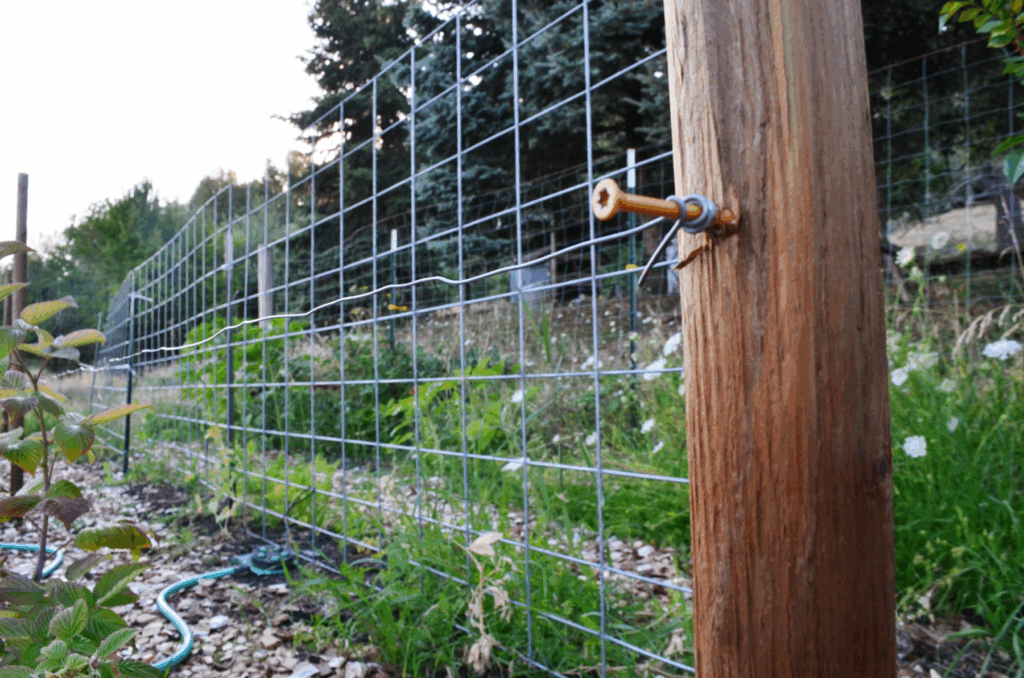
Secure Wire
Using your wire cutters, twist the wire end around the screw several times until secure as shown in picture. stretch wire to next post and wrap several times around the screw once again. As you come to the end post, do the same, making sure the wire is to your desired tightness. Clip the wire and use the wire cutters to secure the wire end against the screw.
Caring for your raspberries with trellis support
Using a trellis system will help to protect the plants (canes) from wind damage while also supporting the weight of the fruit crop. As the plants in your raspberry patch grow, pull out old canes and monitor the support wires to insure that there is adequate support.
Remember: raspberries prefer slightly acidic soil with the ideal ph being between 5.5 and 6.5 (more HERE)
Water your plants as needed to keep the soil moist. If the raspberry bushes (canes) are young, you should likely water daily.
Once your plants have finished bearing for the growing season, you should do some simple maintenance to keep them healthy and happy for the next year. This includes pruning them by trimming your canes several inches above the ground.
Pruning is essential for new growth the following year. When dormant, raspberry canes should be trimmed down to the ground if a summer bearing variety and 4-6 inches above the ground if they are everbearing varieties.
Lastly, be sure to check for and pull out old canes, watering daily.
How long does it take for my raspberry plants to produce fruit?
You are likely wondering how long it will take your new plants (canes) to produce fruit. It will depend on the fact whether you planted summer-fruiting raspberries or autumn-fruiting raspberries.
If you have the ever-bearing (also known as primocanes, then, you;ll be getting fruit that first year hopefully! If you have a summer-bearing variety (also known as floricanes then you will not see fruit until the following year and it will likely be a smaller crop at first.
Ddi you know that well cared for plants produce better fruit quality?
Types of Raspberries you can Plant
Surprisingly there are actually many different types of raspberry plants available as well as color options to choose from. Besides the common varieties of red raspberries there are also black raspberries, purple raspberries, golden raspberries and yellow raspberries to try! Some varieties are best for fresh eating while others are good for making jams and jellies, pies, cakes and for freezing.
Considering that some varieties are best for different purposes, you will decide whether you want to plant the primocane or floricane raspberry plants. (How to tell summer bearing apart from everbearing.)
- Primocane-bearing raspberries – also called “ever-bearing or fall-bearing raspberries”
- Floricane-bearing raspberries – also called “summer-bearing raspberries”
So now that we know the difference in the types of canes lets look at when exactly they will bear fruit for harvesting:
Ever-bearing – The harvest season is from late summer until when the first frost hits. These plants produce the first year the plants are established (planted).
Summer bearing – The harvest season begins in early summer, somewhere around late June/early July depending on the area you are in and continues through the warm summer months. These plants do not produce the same year they are planted. There will be a small yield the second year but the third year will bring the highest potential yield yet.
So once you have determined between ever bearing and summer bearing plants, it is time to pick the variety!
Popular varieties include Amity, Caroline, Latham, Prelude, Meeker, Willamette, Fall Gold, Brandywine, and Black Hawk, as well as many others.
For example, Latham are ever bearing and Fall Gold are summer bearing.
Keep in mind that raspberries should be planted in early spring and prefer to be planted in a sunny location with well-drained soil.
Mulching with some organic material will help to retain moisture and control weeds. The best time to mulch your raspberries is in spring when the canes are still small from being cut-back last year and new shoots are beginning to show.
What if My Raspberries don’t reach the trellis?
If your raspberry canes don’t yet reach the wires and are flopping over you can do a couple different things.
Stake Them
Using a small wooden garden stake or even just a long stick, place the stake into the ground right next to the raspberry vine. Then secure the vine to the stake using twine, wire or string. This guides them upward as they grow.
Tie directly onto Wire
Using twine, loosely tie the raspberry vine in place against the wire so as to guide it’s growth.

Other Gardening Posts You May Like
How to Plant Tomatoes with Eggshells
How to Build a Teepee Green Beans Adore
Simple Guide: How to Grow Pumpkins on a Trellis
How to Remove Weed Killer Roundup from The Soil Naturally
From the Hilltop,