Pressure Canned Beef Stew Recipe for Homemade Convenience
In the past few years I’ve switched to making 95 percent of our meals from scratch. While it’s wonderful to reap the benefits of healthy fresh meals, there are days I just want to snip open a bag or can and have dinner ready. That’s exactly what this homemade beef stew recipe is. It’s a great way to have food both “from scratch” and “ready made.” The first time we tried our canned beef stew I enjoyed a free evening. Even the kitchen clean up was easier!
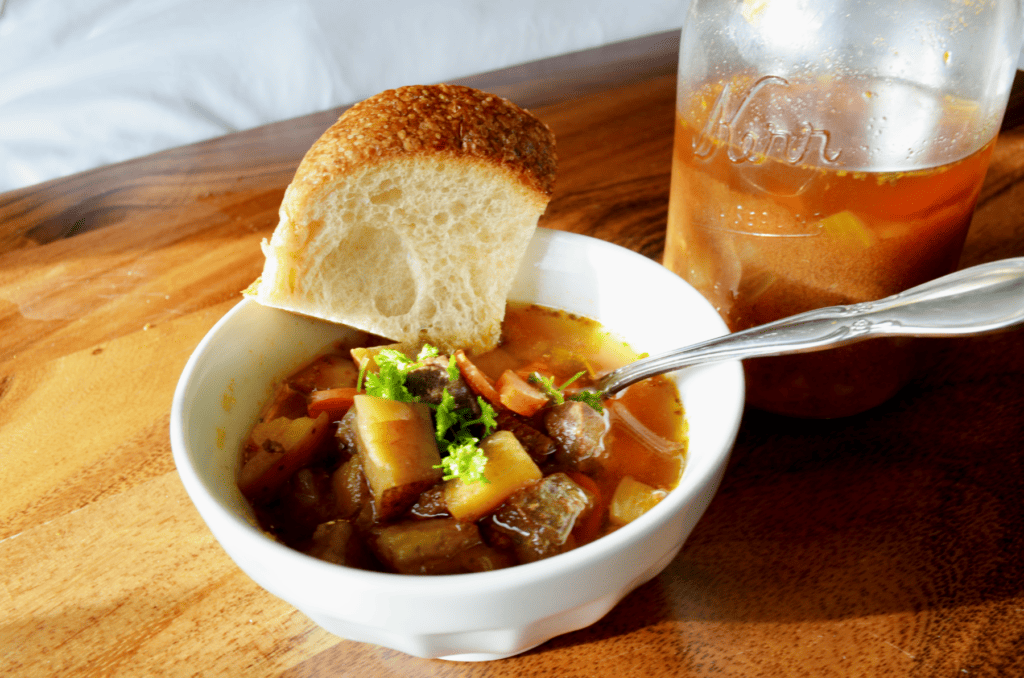
As a homeschool mom with special needs kids, time is hard to come by so I found several several small pockets of time to chop the root vegetables and brown the beef. This spreads the entire job of canning out over a couple days but makes it easier to complete the overall task. I’d struggle to get much done around here if I didn’t divide things!
Ingredients for Home-Canned Beef Stew
This recipe is adapted from Diane Devereaux’ book The Complete Guide to Pressure Canning. Some of the differences I’ll note are that I don’t use diced tomatoes, only tomato sauce. In addition I exclude celery and also simplified the herbs a bit. I hope this is a simple soup that gives a quick prep time and still tastes great when you need a quick dinner. Here is your grocery store shopping list:
- 8 Cups Beef Broth
- 4 Cups Water
- 5 Pounds Beef Stew Meat cup into 1 1/2 inch pieces( Can also use game meat such as elk, venison or antelope)
- 16 Ounces Tomato Sauce with Italian spices
- 12 Cups Peeled and Chopped Potatoes (1-1.5 inch cubes)
- 4 Cups Chopped Onions (1 inch slices)
- 8 Cups Chopped Carrots (1/2 inch thick slices)
- 3 Tablespoons Coarse Sea Salt
- 1/2 teaspoon Black Pepper
- 1 Tablespoon Dried Basil
- 1 teaspoon Dried Thyme
- 1 Tablespoon Dried Oregano
- 2 teaspoon Paprika
- 1/2 teaspoon Ground Coriander
- 2-3 Tablespoons Extra Virgin Olive Oil or Butter for browning the meat

About the Recipe
This beef stew recipe can also be served with rice or noodles. With a large family, I stretch it by adding in an additional can of green beans to it. The fact that I leave green beans out only makes the amount larger for our family when I add them with to the completed soup when I open the jar. You might even try it with some leftover mashed potatoes.
As for the best cuts of meat, you have a lot of options. You could use a chuck shoulder, roast, or plain stew meat. Because my not so traditional beef stew is made with venison, ( I suppose it’s actually venison stew) I use some of the tougher cuts of steak. It’s really not that important for the meat to be tender because the long cook time does tenderize it well!
You may use quart jars OR pint jars for this recipe. Note that the cooking time is longer for quart size jars. Pint size jars cook for 75 minutes while quart size jars canning time is 90 minutes.
This recipe makes 7 quarts of beef stew but know the measurements are not always exact depending on each vegetable, the water amounts in the vegetables, how they fit in the measuring cups and more.
Kitchen Tools for Canning
Pressure Canner
You will need a pressure canner for this recipe because canning safety requires the temperature to be much higher than the normal 165 degrees Fahrenheit of boiling water. Sorry but water bath canning is not allowed. The high temperature and long cook time of this recipe is required because of the inclusion of meat as it’s a low acid food. For more on canning safety check out the National Center for Home Food Preservation.
Fill the Pressure Canner 3-4 inches full of water and heat to low before placing hot filled jars in.
Jars, Lids and Screw Bands
I like to have one extra pair of canning bands and lids than the number of jars made in by the recipe. Better to be safe than sorry! While my pressure canner holds just 7 quarts at a time (and this recipe happens to make 7 quarts), I can still refrigerate whatever extra soup the recipe makes for later.
Also know that the recipe may not make as much as it states. It’s been my experience more often than not, that a canning recipe actually makes a pint or two LESS than indicated. This has to do with the difference in fruits and vegetables, their water content and more.
Make sure to always use brand new canning lids and wash your bands, jars and lids in soapy water. After washing, keep them warm. I like to wash the jars on a quick cycle in the dishwasher and then pull them out as I use them or keep them in warm water in an oven set at 150-250 degrees Fahrenheit.
Towels and clean washcloths
Have 2-3 clean towels to put your jars on while preparing them to be filled as well as 1-2 clean washcloths to wipe down the rims of your filled jars.
A Ladle, Canning Jar Lifter and Wide Mouth Funnel
These items are not required for canning BUT will make it much easier for you. I recommend getting these items if you want to make it an easier experience. The ladle is used to fill your jars but you can also use a large soup spoon. I highly recommend having a wide mouth funnel for all canning projects as it will keep your area much less messy and save more of your precious preserved food.
Lastly, a canning jar lifter is also important to help lift the finished product out of your pressure canner. I’ve attempted canning without one and boy was that an exciting time! It ended with wet oven mitts and a very stressed person, but thankfully no broken jars.
Recipe For this Classic Beef Stew
In a thick bottomed stockpot, heat 1 tablespoon of the olive oil or butter and brown your beef stew meat, flipping to brown each side. Add more oil/ butter as needed. The meat doesn’t have to be completely cooked. The point is to add flavor by browning the outside.
Add in the chopped root vegetables, onions, salt, pepper, herbs and spices. Then add the beef broth, water and and tomato sauce. Bring to a boil for five minutes, then immediately remove from heat. This soup is not a raw pack. Boiling the soup for JUST a few minutes helps set the flavors. Do NOT boil it longer than five minutes as it will have a long cooking time once in the pressure canner and this is not necessary.

Prepare for canning by washing new canning lids and canning screw bands. Once the soup is put together and hot, ladle it into freshly washed and warm jars with a 1 inch head space. Focus on evenly distributing the broth and vegetables as much as possible. Run a knife down the inside edges to remove any air bubbles. Add enough stew into the jars to fill it to a 1 inch headspace.
Wipe rims of jar dry and clean with your washcloth. Screw band on finger tight over the lid. Place jars into the pressure cooker filled with 3-4 inches of warm water set at low heat.
Canned Beef Stew
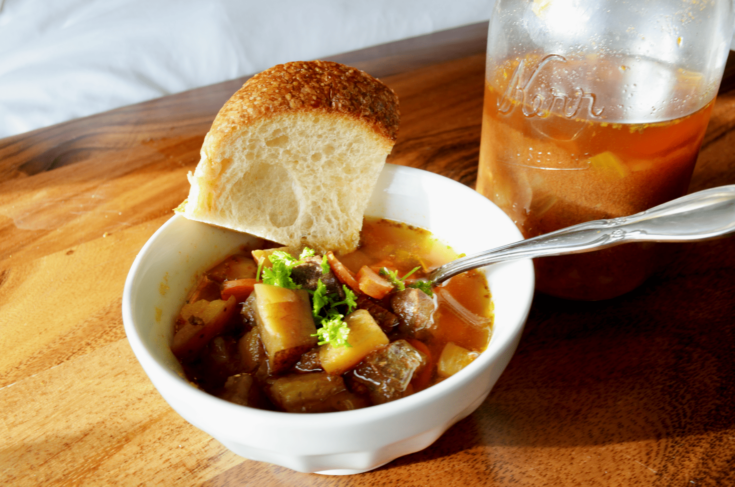
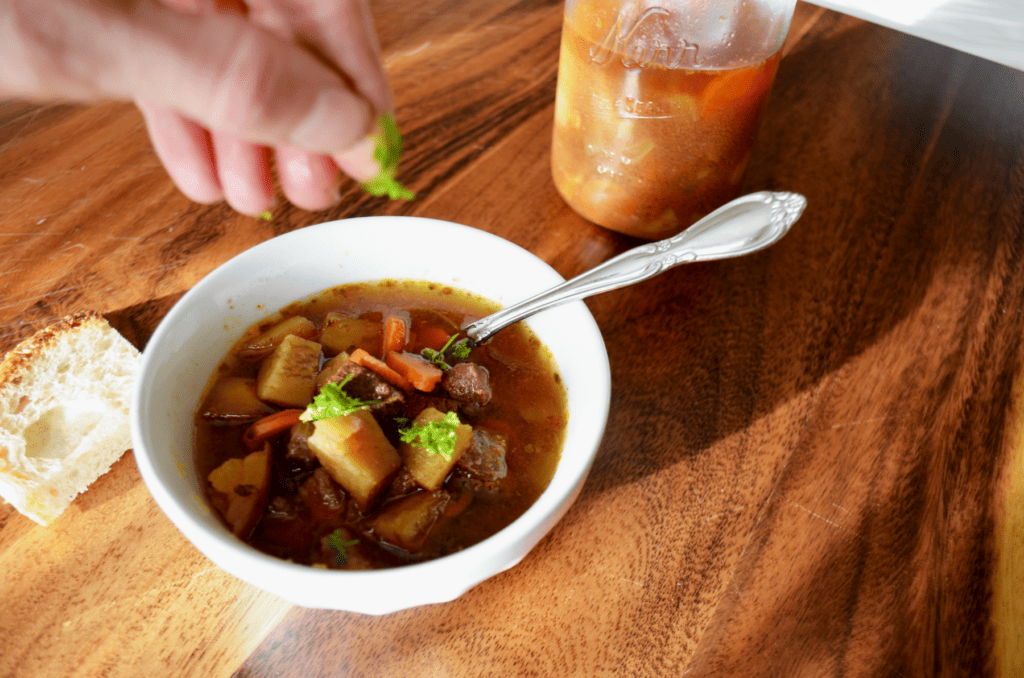
Recipe for canning beef stew in a pressure canner.
Ingredients
- 8 Cups Beef Broth
- 4 Cups Water
- 5 Pounds Beef Stew Meat cup into 1 1/2 inch pieces( Can also use game meat such as elk, venison or antelope)
- 16 Ounces Tomato Sauce with Italian spices
- 12 Cups Peeled and Chopped Potatoes (1-1.5 inch cubes)
- 4 Cups Chopped Onions (1 inch slices)
- 8 Cups Chopped Carrots (1/2 inch thick slices)
- 3 Tablespoons Coarse Sea Salt
- 1/2 teaspoon Black Pepper
- 1 Tablespoon Dried Basil
- 1 teaspoon Dried Thyme
- 1 Tablespoon Dried Oregano
- 2 teaspoon Paprika
- 1/2 teaspoon Ground Coriander
- 2-3 Tablespoons Extra Virgin Olive Oil or Butter for Browning the Meat
Instructions
- In a thick bottomed stockpot, heat 1 tablespoon of the olive oil or butter and brown your beef stew meat, flipping to brown each side. Add more oil/ butter as needed. The meat doesn't have to be completely cooked. The point is to add flavor by browning the outside.
- Add in the chopped root vegetables, onions, salt, pepper, herbs and spices. Then add the beef broth, water and and tomato sauce. Bring to a boil for five minutes, then immediately remove from heat.
- Prepare for canning by washing new canning lids and canning screw bands. Once the soup is put together and hot, ladle it into freshly washed and warm jars with a 1 inch head space. Focus on evenly distributing the broth and vegetables as much as possible. Run a knife down the inside edges to remove any air bubbles. Add enough stew into the jars to fill it to a 1 inch headspace.
- Wipe jar rim dry and clean with your washcloth. Screw the band on finger tight over the lid. Place the jars into the pressure cooker filled with 3-4 inches of warm water set at low heat.
- Lock the pressure canner lid and bring to a boil. Let the canner vent for 10 minutes before closing the vent. Continue heating on high until the pressure canner arrives at 10 PSI or indicated PSI for altitude in notes below.
- Process the quart size jars for 1 hour and 30 minutes or pint size jars for 1 hour and 15 minutes. When done processing, turn off the heat and let the pressure canner PSI fall back to 0 naturally. Do not try to release the pressure by force as it can cause jar breakage or liquid loss. This can take a long time and if canning at night it may be best to wait until the next day to take your jars out.
- Once the Pressure has returned to 0 PSI, take the jars out and sit them on a clean towel. Remember the contents of the jar may still be hot! Allow jars to cool for at least 12 hours before removing the bands and checking their seals.
Notes
Check the seal by placing fingertips around the edge of the lid and lifting the can up. If a jar isn't sealed put in the refrigerator and eat as soon as possible. Store all sealed jars in a pantry or cool dry place for up to 18 months. Dispose of any jars with seals that break during this time.
If at a higher altitude than 1000 feet, adjust to the correct PSI.
For a dial gauge pressure canner:
0-1000 ft =10 PSI
1001-2000 ft. = 11 PSI
2001-4000 ft. =12 PSI
4001-6000 ft. =13 PSI
6001-8000 ft. =14 PSI
8001-10000 ft. =15 PSI
For a weighted gauge pressure canner:
0-1000 ft.= 10 PSI
1001-10,000 ft. =15 PSI
Pressure Canning Beef Stew
Lock the pressure canner lid and bring to a boil. Let the canner vent for 10 minutes before closing the vent. Continue heating on high until the pressure canner arrives at 10 PSI or if you are at a higher altitude than 1000 feet see indicated PSI levels. If you are above 1000 feet, you can also look HERE to find the exact PSI at which you should cook.
For a dial gauge pressure canner:
0-1000 ft =10 PSI
1001-2000 ft. = 11 PSI
2001-4000 ft. =12 PSI
4001-6000 ft. =13 PSI
6001-8000 ft. =14 PSI
8001-10000 ft. =15 PSI
For a weighted gauge pressure canner:
0-1000 ft.= 10 PSI
1001-10,000 ft. =15 PSI
I’m at sea level which means my dial gauge pressure canner will process at 10 PSI or 10 pounds pressure.
Process:
- the quart size jars for 1 hour and 30 minutes or
- pint size jars for 1 hour and 15 minutes.
When the processing time has ended, turn off the heat and let the pressure canner PSI fall back to 0 naturally. Do not try to release the pressure by force as it can cause jar breakage or liquid loss. This can take a long time and if canning at night it may be best to wait until the next day to take your jars out.
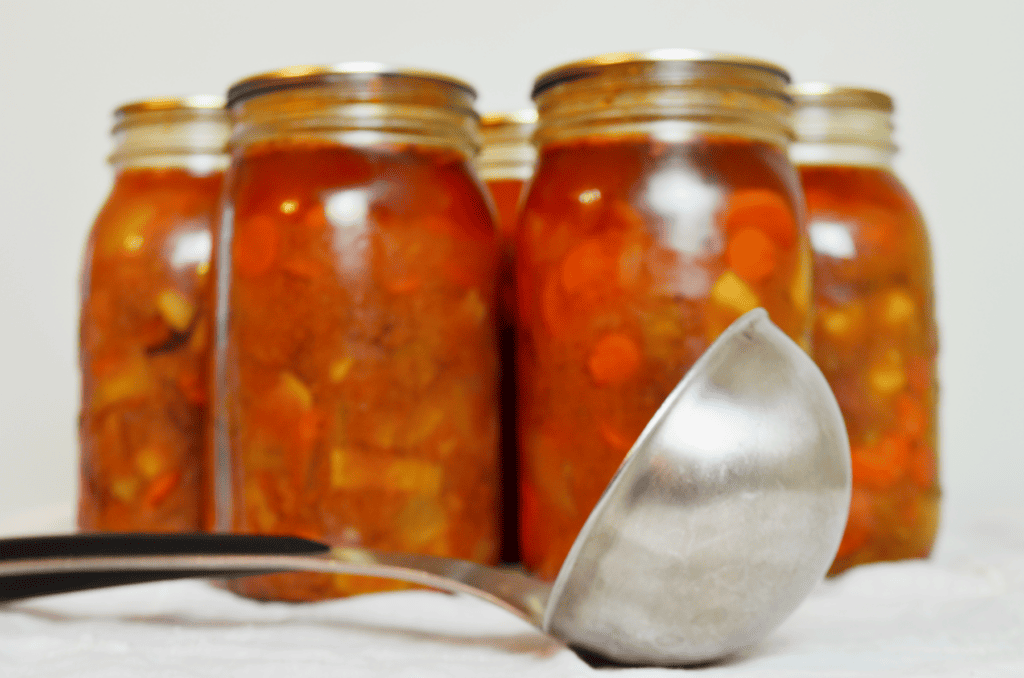
Once the pressure has returned to 0 PSI, take the jars out and sit them on a clean dish towel. Be careful not to burn yourself on hot jars. Allow jars to cool for at least 12 hours before removing the bands and checking their seals.
Check the seal by placing fingertips around the edge of the lid and lifting the can up. If a jar isn’t sealed put in the refrigerator and eat as soon as possible. Store all sealed jars on a pantry shelf or cool dry place for up to 18 months. Dispose of any jars with seals that break during this time.
I hope this hot beef stew gives you peace of mind on busy nights when you want something made from scratch but don’t have the time.

Other Canning Posts You May Like
How to Easily Open a Sealed Canning Lid Whether Stuck or Stubborn
Apple Pie Filling Canning Recipe Without Clear Gel
Easy Recipe for Canning Homemade Blueberry Preserves
How to Find Time to Preserve with Kids
Enjoy!
From the Hilltop,


